The lifecycle of a landlord tenant relationship begins with the first point of contact during the rental vacancy process and ends upon returning the tenant’s security deposit at move-out.
Along the way, there are multiple interactions that will define your landlord tenant relationship. With so many tenants, it’s important to stay on top of your duties when it comes to effectively managing your residents and keeping your properties profitable.
Wondering what it takes to be a landlord and how to manage a potential landlord tenant relationship? This ultimate landlord tenant checklist takes you through the lifecycle of a landlord tenant relationship, from move-in to move-out.
Before jumping into the rental management game, you’ll find that one of the best tools you can use to effectively manage your landlord tenant relationship is a property management software platform. The right software will give you options to successfully handle every step on your landlord tenant checklist.

Step One – Finding a New Tenant
The moment you discover a property will be vacant, you need to begin your search for the next tenant. Most lease agreements require tenants to provide some sort of notice before vacating a property. You can use this time to begin your search for a new tenant who can move-in when the unit becomes available, limiting the time the property will be vacant. The less vacancy time, the more money you will generate off of the property.
In order to find your next tenant, you need to:
- Create a rental vacancy ad that highlights features found on a rental checklist for tenant
- Publish the rental ad on your website and share the ad to your rental listing syndication network and on your social media account
- Set up appointments to show the property to interested rental applicants
- Collect rental applications and application fees
- Complete tenant screening and review tenant background reports on your rental applicants
- Approve a qualified tenant for your rental
- If your tenant has a pet for a pet-friendly rental, follow your pet screening procedures
- Notify other rental applicants the unit has been filled
Step Two – Preparing and Signing the Lease
Once approved, you should work with your qualified rental applicant to sign a rental lease, making them an official future tenant of your property. A signed lease will be the contract that guarantees the renter will move into your property and be responsible for paying rent, per the terms of the lease agreement.
Before sending the lease to your future tenant to sign, take the following steps:
- Draft a lease agreement or find a legal lease template online.
- Make sure your lease is legal. Have your lease agreement reviewed by a licensed attorney familiar with landlord tenant laws in your area. Some states and counties require specific terms or sections to be included in all rental lease agreements. You don’t need to have an attorney review your lease before every tenancy, but it’s a good idea to do it at least once and check in with them routinely, to ensure nothing has changed.
The Lease Signing Process
During the lease signing process, you will either share the lease online for your future tenant to electronically sign or meet up in person to have your tenant physically sign the lease.
As part of the lease signing process, you will want to:
- Review important terms of the lease with your future tenant
- Require tenants to initial important parts of the lease to ensure they understand their responsibilities as a resident of your property
- Review how much rent is due, what day it is due when rent is considered late, and how late rent payments will be handled
- Collect move-in funds, including a security deposit, additional fees if applicable, and first month’s rent. Check your state and local landlord tenant laws to see if you are legally allowed to collect last month’s rent from your residents. Some landlords will choose to wait until the first day of the tenancy to collect the first month’s rent.
- Have your tenants sign the lease
- Sign the lease yourself, also known as countersigning
- Discuss details for move-in day with your new tenant
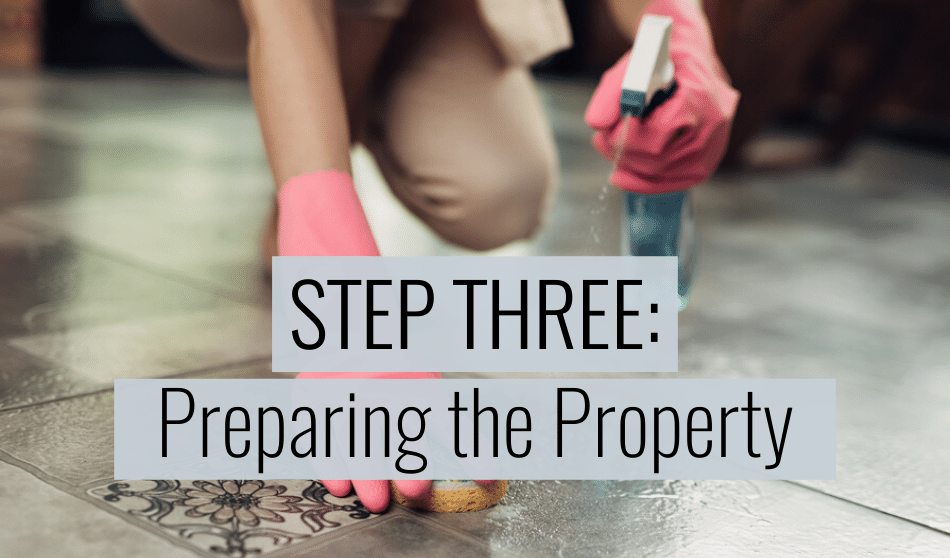
Step Three – Preparing the Property
The time between tenants, when you are preparing the property for a new resident, is called tenant turnover.
If your property was left sparkling clean by the previous resident, you might be wondering, do landlords have to clean between tenants? In most cases, it’s a good idea to get the carpets professionally cleaned prior to a new tenancy and either hire a cleaning crew or thoroughly clean the property yourself. This step provides a pristine property for your next tenant and gives you a good baseline for the condition in which you expect the property to be returned to you at the end of the next tenant’s lease.
In order to prepare the property for a new tenant, you will want to:
- Complete a move-out inspection with your previous resident
- Collect the keys from the previous tenant, and consider changing the locks if you feel the security of the property has been compromised
- Fix any damage and complete any repairs while the unit is vacant
- While the unit is vacant, paint the unit and clean the carpets if necessary.
- Return your previous tenant’s security deposit with a list of itemized deductions if you were required to fix any damage caused during tenancy
- Deep clean the property with the help of a professional service or on your own

Step Four – Moving a Tenant In
On the first day of the lease term, the property should be ready and prepared for the new tenant to move in. As part of the move-in process, you will want to ensure all paperwork has been collected and reviewed, rent is paid and current, complete a tenant walk through checklist, and provide a warm welcome to your new renter.
It can be helpful to follow this checklist for landlords when a tenant moves in:
- Review lease paperwork and ensure everything is signed and complete
- Collect any owed rent or additional fees before handing over the keys
- Provide Welcome Paperwork, a New Tenant Welcome Kit, and a Move In Checklist to your renter
- Give your tenant information on how to complete their move-in inspection and on what day the Move In Checklist should be returned to you

Step 5 – Managing the Lease
Throughout the lease term, your main objectives are collecting rent from your tenant, maintaining the property, adhering to your landlord tenant laws, nurturing your landlord tenant relationship and communicating effectively with your tenant.
In order to effectively manage your rental lease, you should do the following:
- Stick to the terms outlined in the lease agreement, including rent due dates
- Give your tenants easy ways to pay rent, via an online rent payment system or by utilizing simple cash payment for rent options
- Utilize the helpful features available in your property management software
In order to maintain the property, you should:
- Provide an easy solution for tenants to report maintenance issues
- Respond to and address maintenance issues appropriately
- Find a periodic inspection checklist for rental units to use during your routine inspections
As a landlord, you should make sure you are always following your local, state, and national landlord tenant laws. These laws will guide you on the best way to legally handle certain situations.
For example, there are landlord tenant laws about:
- A landlord’s right to enter the property
- How much notice must be given before raising the rent
- How to handle lease violations
- Snow removal requirements and responsibilities
- Implied warranty of habitability
- Implied warranty of quiet enjoyment
- Required landlord disclosures you have to tell your tenant
- How to legally evict a renter
These laws are just a few examples of the many regulations that you will need to understand and adhere to during your time as a landlord. It may be helpful to join a local or state landlord association to stay abreast of changes and updates to landlord tenant laws.
Nurture your landlord tenant relationship throughout the lease with the following best practices:
- Check-in with your tenant during the lease
- Send friendly reminders or notices about seasonal maintenance and property updates
- Follow state laws about providing notice before inspecting the property
- Respond to maintenance requests in a timely manner
- Learn how to raise the rent in a respectable way
- Understand when it is ok to say “No” to your tenants
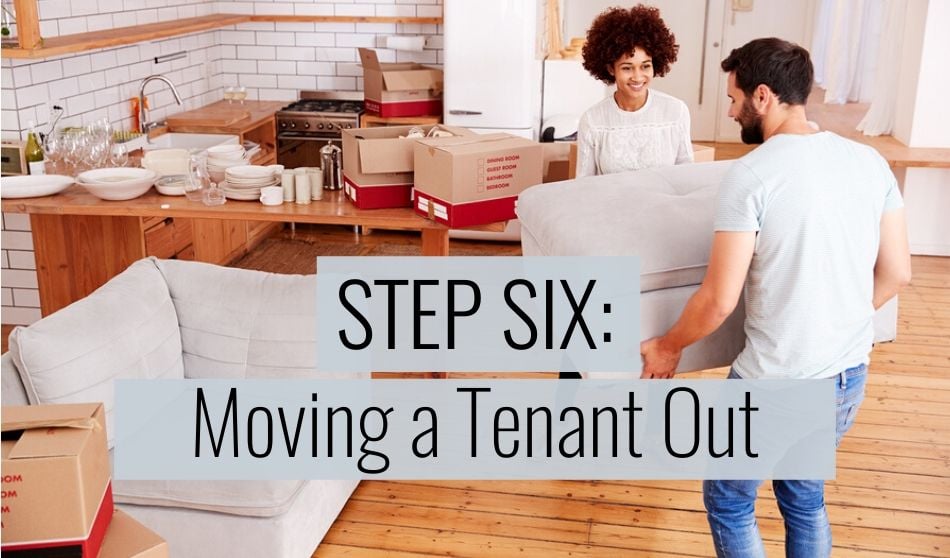
Step 6 – Moving a Tenant Out
There will come a time in every tenancy, where your tenant will move out of the property. Some tenants will remain at your property for years (or decades!) while others will move out as soon as the term lease is up. Regardless of how long the tenant lived at the property, you will want to create a process for handling a tenant move out.
In some cases, a tenant will provide notice they are moving out, in other instances the tenant will merely plan to move out at the end of the lease term and will not need to provide any notice. Regardless of the situation, it is a good idea to communicate with your tenants and understand their plans to vacate the property.
When it comes time for a tenant to move out, follow these steps:
- Determine what day your tenant will vacate the property and return the keys to your tenant
- Provide the tenant with move out instructions, including what steps the tenant needs to follow to return the property to pre-move-in condition in regards to cleaning and repairs
- Complete a pre-move-out inspection to help your tenant get more of their security deposit back
- Communicate to your tenant how much a prorated rent amount will be if the tenant is vacating in the middle of the month
- Have a plan in place if the tenant is not moved out by the agreed-upon day and time
- Contact your vendors and have them ready to handle the cleaning and repairs during the tenant turnover window
- Complete a move-out inspection once the property has been vacated
- Follow your state laws regarding security deposit deductions and returning security deposit funds to your tenant
Do it Again!
Congratulations, you’ve successfully completed a full landlord tenant lifecycle. Remember to begin marketing your rental as soon as you receive notice of your current renter’s intent to vacate the property. Following these steps will help you successfully manage your rental units as a landlord.
Landlord Tools for Success
One of the best tools you can use to effectively manage your landlord tenant relationship is a property management software platform. The right software will give you options to successfully handle every step on your landlord tenant checklist.
With property management software, you will be able to track upcoming lease expirations, market vacancies, collect rental applications, order tenant screening reports, send and sign lease agreements online, collect online rent payments, track late rent payments, collect and organize maintenance requests, send notifications, reminders, emails and text messages directly to your tenants, and complete move-in and move-out inspections with a mobile app. While there are several systems for landlords on the market, Rentec Direct is a powerful property management software option for streamlining your landlord tenant relationship and finding success as a landlord.