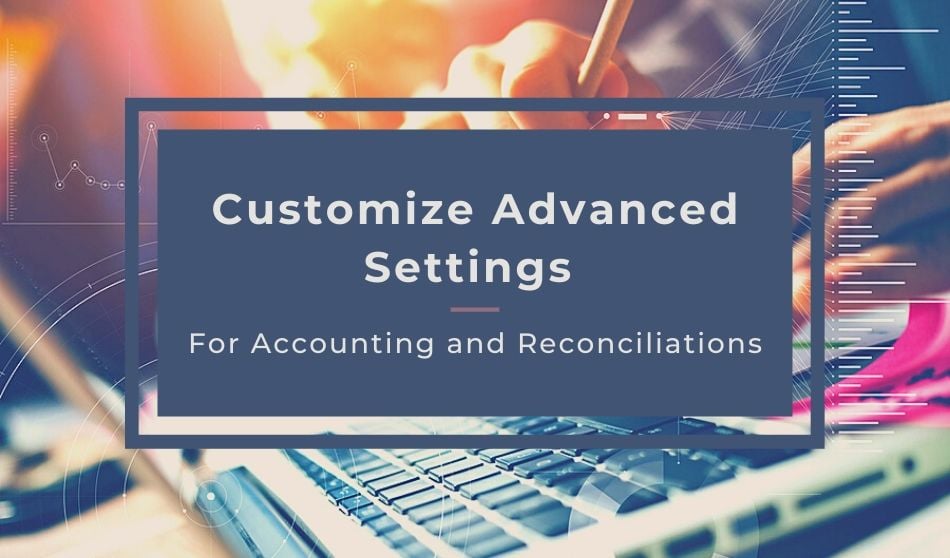
The Rentec Direct development team works hard to meet your needs and often adds additional setting options that can save you valuable time and make your job easier.
This article will highlight some new Advanced Settings and how they function so you can get the most out of your software investment.
Return Tenant ACH Transaction to Zero Option
If you accept online rental payments and reconcile your accounts within your Rentec Direct property management software, you might be thrilled about this new option.
Previously, if a rent payment was returned as an NSF or chargeback, the software would zero out the transaction. If someone wanted to see both the received payment and the return on a ledger or report to match during reconciliations, they would need to manually add those to the system.
Now, you have the option to allow the software to automatically post the return of a tenant payment as a negative transaction to offset the original. The end result is still a zero-sum but the individual transactions can be matched easily using the reconciliation tool without any manual input needed.
When this negative transaction is posted it will have the original payment date and provides a reason for the return.
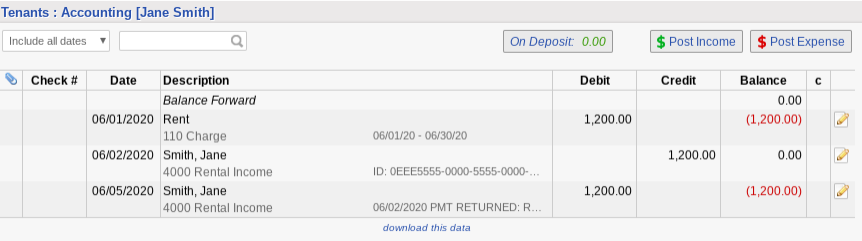
Set Advanced Settings option to ‘No’ will allow the system to create a negative transaction when a tenant payment returns for NSF or chargeback instead of the default; which is to zero out the original transaction.
For current clients, If you wish to continue to have returned tenant ACH transactions (NSFs and chargebacks) zero out as they have, there is nothing you need to do as it will continue to function in that manner.
However, if you wish to switch to the new option head on over to the Advanced Settings (see instructions below) and set that option to ‘No’. Because of the time-savings it provides, all new clients will have this default to ‘No’.
Default Settlement Days
Three additional Advanced Settings have been added to help you with reconciliations and bookkeeping. You can now customize the number of days for your ACH, Credit Card, and Cash Network payment settlement reports.
The default number of days it takes for payments to be deposited into your bank for these settlement reports are set to match most Tier 1 banks as they deposit the quickest. However, if you use a credit union, smaller bank, or upgraded with Forte to same day funding, you might need to modify these settlement day options at the bottom of the Advanced Settings page.

Adjust the default Advanced Settings settlement days as needed to match the deposit timing for your financial institution.
Other Report Advanced Settings
When pulling reports for bookkeeping and reconciliation purposes, you may want to review and adjust a few other Advanced Settings to make your job easier. Here are a few items you may wish to enable/disable:
- Display property and transaction memo in account ledger reports.
- Display category on Ledger A reports.
- Enable check numbers on the Account Ledger A report.
- Suppress split transaction details on the Account Ledger B report.
- A ‘yes’ will consolidate the individual split items into one transaction.
- A ‘no’ will expand the split into individual items.
- Show voided deposits on bank ledgers and reports.
In addition to these listed, there are many other customizable options throughout the software.
How to Make Advanced Setting Changes
Because so many of our clients use the software in different configurations to match business needs and state guidelines, we are always careful when creating new features and setting options to not make changes that disrupt how the software is used. Instead, we put the controls in your hands and offer you the ability to make the decision to use the new settings at-will.
The following will guide you to the Advanced Settings tab where you can review and configure to suit your needs.
In your Rentec Direct account:
- Click on the Settings tab.
- Click on the Program Settings option.
- At the bottom of the page click the ‘edit advanced settings link’.
- Read and click on the OK button to continue to the Advanced Settings page.
- Each option is either a yes/no toggle, a drop-down option, or an input. Make the appropriate changes for your business needs and then click the Save Changes button on that screen. Note: A popup will appear indicating those changes are saved the software takes you back to the Program Default page.
- To finalize your changes and return to the Settings tab, click the Save Changes button on the Program Default screen.
Software Tools and Resources
To find more time-saving information, check out these quick and easy tools and resources.
Summary Tab
When you log onto your Rentec Direct account you are greeted by the Summary tab. Keep an eye on the Program Updates module for the most up-to-date software notifications. Additionally, the News & Tips module offers helpful industry-related articles to support your success.
Webinars
Monthly webinars are your guide to many new and advanced features with best practices and step-by-step instructions. You can learn about and register for upcoming webinars here: Rentec Direct Webinar Series
YouTube
Our YouTube channel houses not only previous webinars, but also training videos for you, your employees, and even tenants. Check out and subscribe here: Rentec Direct YouTube Channel
Knowledge Base
At the bottom of your Rentec Direct account on every page, you will find direct access to your Knowledge Base full of how-to and informational articles, videos, and resources. You can also access the Knowledge Base here: Rentec Direct Knowledge Base