Before the busy holiday season is upon us, now is the time to ensure you are ready for 1099s for your rental business. This year’s new changes to 1099s mean that landlords and property managers who previously did not need to e-file will need to file electronically. Here is the must-know 1099 information for property managers and landlords who paid owners or vendors over $600 within the calendar year.
Rentec Direct’s property management software allows you to conveniently file owner and vendor Federal and State 1099-MISC and 1099-NEC forms electronically. Through an integration with Nelco Solutions, Rentec Direct clients can electronically file their 1099 tax forms with the IRS and submit copies to their recipients to meet tax filing deadlines and requirements.
Who is required to e-file their 1099s?
Property managers and landlords who pay owner clients and/or vendors more than $600 within a calendar year are required to file 1099 tax forms with the IRS. If you file more than 10 tax forms, you must file them electronically under new requirements from the IRS.
Under the new IRS tax rules, filers of 10 or more returns of any type combined, including W2s, for a calendar year generally will need to file their forms electronically with the IRS. Previously, electronic filing was required if the filing was more than 250 of the same type for a calendar year.
Important Note: If taxes are filed electronically, corrections will also need to be made electronically. Tax forms can be both submitted and corrected electronically through Nelco Solutions.
Regardless of how you choose to file your taxes, Rentec Direct gives you the capabilities to analyze, confirm, and electronically file your tax forms with the leading experts in tax reporting, Nelco Solutions.
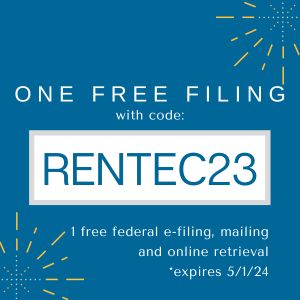
Nelco is offering all Rentec Direct clients one free filing with the code: RENTEC23
Rentec Direct clients who work with CPA or bookkeeper
If you work with a CPA or bookkeeper to file your tax forms, Rentec Direct generates the necessary reports your tax professional will request to complete your tax filing.
Important Notes:
- Tax IDs for individuals will be their social security number (SSN) & Tax IDs for businesses will be their employer identification number (EIN). If you do not have their SSN or EIN, you can enter zeros.
- Make sure to have a current W-9 on file for each vendor and owner
- Verify the accuracy of the mailing address for each vendor and owner. The address is where their copy of the 1099 form will be mailed, which they can use for their personal or corporate tax return. Military APO addresses are accepted; however, any other address outside of the US cannot be used.
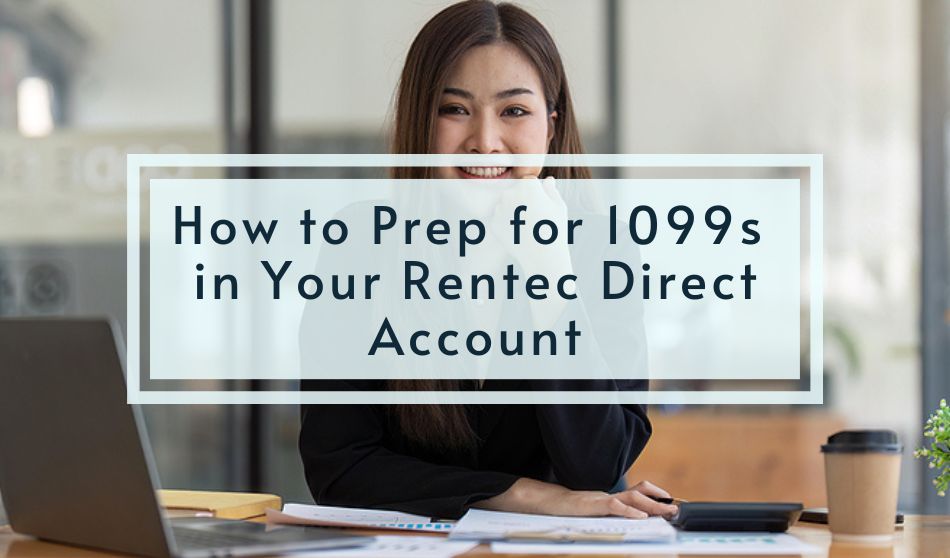
Want a Downloadable Checklist?
Here is a simple and comprehensive checklist to ensure you are ready for 1099 submission.
Download for Printing: Rentec Direct 1099 Checklist
The following processes will help ensure a convenient, accurate, and timely electronic submission of tax documents through your Rentec Direct property management software.
Verify Your Account Information is Current
To ensure your information is submitted accurately the first time and avoid last-minute corrections, you will want to make sure your company information is correct. The following steps will walk you through accessing your Administrator/Company information.
In your Rentec Direct account:
- Click on Settings
- Click on Your Contact Information under Account
- Verify the information under Contact Information and Tax ID is correct
- Click on Save Changes
Verify Vendor & Payee Information
Make sure vendor details are set up correctly with a current w9 and check for duplicate vendors. It’s important to identify if they are an individual or company with the appropriate designation. In general, expenses will be posted to a property, and the vendor selected from the drop-down. The following steps will walk you through how to edit a vendor and make sure the correct information is documented.
In your Rentec Direct account:
- Click on Settings
- Click on Vendors & Payees under the People section
- Right-click on your choice and then Edit Vendor from the menu
- Update the information for the vendor or payee, making sure all vendor details and contact information, including category is entered and correct. If you’re not sure which to indicate, you will want to reach out to your accountant.
- Check the 1099 box & select Non-Employee to produce a 1099-NEC form
- Check Other to produce a 1099-MISC form
- Click on Save Changes
If an expense was posted directly to a bank account and/or their name was typed in instead of using the dropdown, this step will help you identify and correct this prior to submitting taxes, saving you time.To make sure all vendor-related transactions are included, you will want to make sure there aren’t any unintended duplicate vendors by reviewing either the vendor ledger report or the 1099 tax assistant report. The following steps will walk you through accessing both of these reports.
In your Rentec Direct account:
- Click on Reports
- Click on Financial Reports
- For the Vendor Ledger report
- Click on Vendor Ledger under Accounting
- Scroll through the list to identify duplicates
- For the 1099 Tax Assistant report
- Click on 1099 Tax Assistant under Tax Reports
- For the Vendor Ledger report
Note: The Tax Assistant report has a clickable field above Payments to allow you to choose if you want to only show vendors that were paid over $600 (Showing 600+ Values) or to show all vendors (Showing All Values) to show all.
Important Note:
If there are duplicate vendors:
- Check the vendor profiles to verify which vendor is the one to keep
- You may want to edit the duplicates and put an X or mark at the end of their name to easily identify them
- Delete the duplicates by right-clicking next to their name and selecting delete. If there were transactions assigned to the duplicate, there will be an option to move the transactions to the intended vendor
Properties
Properties must be active for transactions to be included in the filing. Any archived properties with transactions posted in the prior year will need to be reactivated. The following steps walk you through how to reactivate archived properties.
In your Rentec Direct account:
- Click on Properties
- Click on Archives
- Right-click on your choice and select the reactivate property option from the menu
Tenants
Complete pending tenant move-outs. The following steps will walk you through accessing the rent roll report to review the tenant’s status.
In your Rentec Direct account:
- Click on Reports
- Click on Tenant Reports
- There are three options for Rent Roll reports. The Enhanced Rent Roll provides the most options for information to view.
Tenant Security Deposits
You will want to make sure the tenant security deposit information is correct, as this can affect theamounts of owner disbursements, expenses paid, and balanced ledgers. There are two Current Deposit reports available. Current Deposit B will provide a list of tenants, the associated property, the deposit charged, and deposit paid still in your possession. The following steps will walk you through accessing the Current Deposit reports.
In your Rentec Direct account:
- Click on Reports
- Click on Tenant Reports
- Click on Current Deposits B
Maintenance Requests/Work orders
To make sure that expenses made as a result of work orders have been posted, you may want to review the closed work order report.
In your Rentec Direct account:
- Click on Reports
- Click on Misc Reports
- Select the Work Orders Closed report
Verify That All Transactions are Categorized
It’s important that transactions are categorized correctly. You will want to make sure that all reportable transactions are categorized as any transaction that is ‘uncategorized’ will not be included in 1099 filings.
Transactions are all assigned a category when entered. The following steps will walk you through accessing the Category Ledger report.
In your Rentec Direct account:
- Click on Reports
- Click on Financial Reports
- Using the filter dropdowns, select the Report Period and All Properties
- Under Accounting click on Category Ledger
- Select 0000 Uncategorized (use ctrl or shift to select multiple options)
- Click on the line item $ amount to access the transaction and make any needed edits
Verify That All Transactions are Assigned to a Property
Transactions included in the 1099 tax assistant report and electronic submission to Nelco Solutions are pulled from the property ledgers. If there were transactions posted to a bank account without a property indicated, you will want to make sure to edit the transactions to add the related property. The following steps will walk you through pulling a report from the bank so that you can see at a glance if there’s a property indicated and easily make any necessary changes.
In your Rentec Direct account:
- Click on Reports
- Click on Financial Reports
- Using the filter dropdowns, select the Report Period and the Account
- Under Accounting, select Category Ledger
- Select 0000 Uncategorized (use ctrl or shift to select multiple options)
- When viewing the report under the header “Property”, if there is no property you will see 3 dashes.
- To edit the transaction, simply click on the dollar amount to the right
Post All Pending 2023 Transactions
Important Note: Expenses paid to vendors should be posted to the property ledger and assigned to the vendor using the dropdown to be included in the Rentec Direct 1099 tax reports and electronic filing.
Review The 1099 Tax Assistant Report
There are three reports available to help you review your tax information prior to submitting, 1099 tax assistant, Depreciation Schedule, and Schedule E assistant. The following steps will walk you through how to view your Tax assistant report.
In your Rentec Direct account:
- Click on Reports
- Click on Financial Reports
- Under Tax Reports, select 1099 Tax assistant
Note: The information found in this report is the same data used for creating the 1099 E File. This report and the 1099 E file system will utilize the rents received and vendor payments entered throughout the year. The 1099 Tax assistant report can be filtered to only show the vendors and payees (such as owners) that have been paid $600 or more in the year that mirrors the IRS requirement of who must receive 1099 tax forms.
Important Note: For information to be included in this report and ultimately to the creation of your 1099s:
- All properties will need to be “active” in order to be included in tax reporting. If your properties have been archived, you will need to reactivate them in order to include them in your 1099 filings.
- Be sure all reportable transactions are categorized, because if you leave any transaction ‘uncategorized’ it will not be included on 1099 filings.
Click here for details on Setting Up Categories | Chart of Accounts
Click here for details on how to Edit, Correct, or Delete Transactions
The following link will walk you through e-filing 1099 Tax Forms | Federal and State E-filing and Print Options
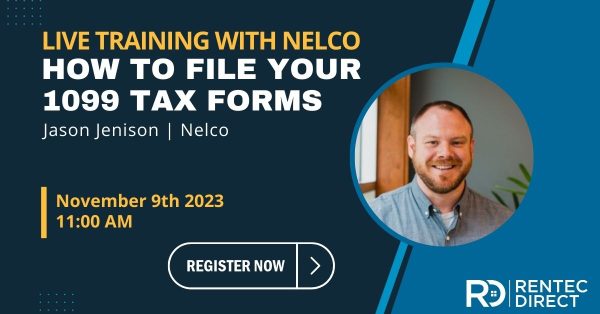
Questions? Don’t Miss Our Live Training With Nelco: